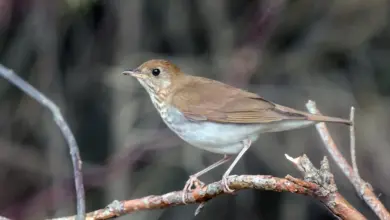
Bird photography is more than just a skill. It’s also a rewarding, deep relationship between the photographer’s eye and the natural environment. Photographing birds allows you to capture a beauty that most people don’t see. The glint of the eye of the robin at dawn, or the stillness and elegance of the flock of starlings soaring across a stormy night sky, are all moments that most people miss. These moments are unscripted, raw, and entirely unpredictable–making bird photography one of the most exciting and challenging forms of nature photography. For more information, see our guide on fish.
This guide will help you master every aspect of bird photography, from understanding your subject and choosing the right gear to mastering technical settings, field techniques, and post-processing. This guide will walk you through all aspects of bird photography, from understanding your subject to choosing the best gear, mastering technical settings and field technique, to post-processing. This is the place to start if you want to learn how to photograph birds.
Bird Photography
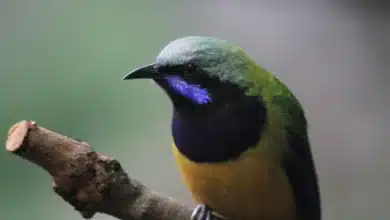
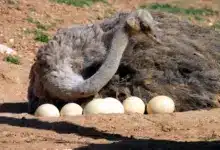
Birds can be found everywhere. They nest in remote places, on roofs, ops, and in gardens. Their diversity is unparalleled. Each bird is a unique opportunity to see evolution in action.

Bird photography has a purpose beyond its beauty. Many bird species are facing an uncertain future as habitats shrink, and climate change disrupts migration. A beautifully composed photo can do much more than just please the eye. It can inspire conservation and raise awareness of environmental issues. Bird photographers are often ambassadors of the wild. They use images to create empathy and connection where words might fail.
Start with Observation and Understanding Your Subject
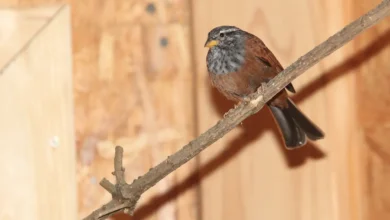
It’s important to start with observation before you lift your camera. Birds are highly reactive creatures, yet they also have a lot of habits. Birds don’t always behave the same in every situation. Spending time quietly watching them will help you better understand their movements, how they react to things, when they feed, and where they perch.
You can anticipate events rather than just reacting to them. You will start to notice patterns, such as when the local kestrel returns to the power line or how the puffin lines up his dive. You start to recognize the bird more as an individual, with its own personality, rhythm, and behavior.
Bird photography can begin long before the shutter is clicked. Listening, learning, and respecting the space of the bird is where it all begins. It’s not just about following the rules and regulations; it is about making a silent pact with the subject, not to harm or disturb them, but simply to observe.
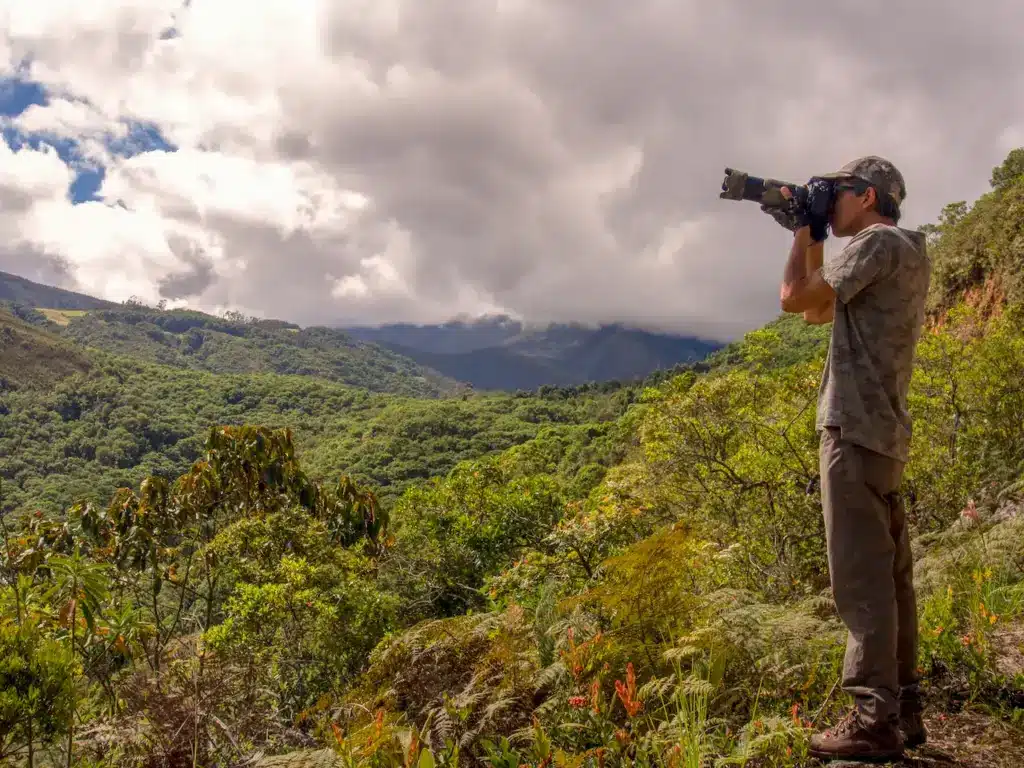
Choose the Right Gear for the Field
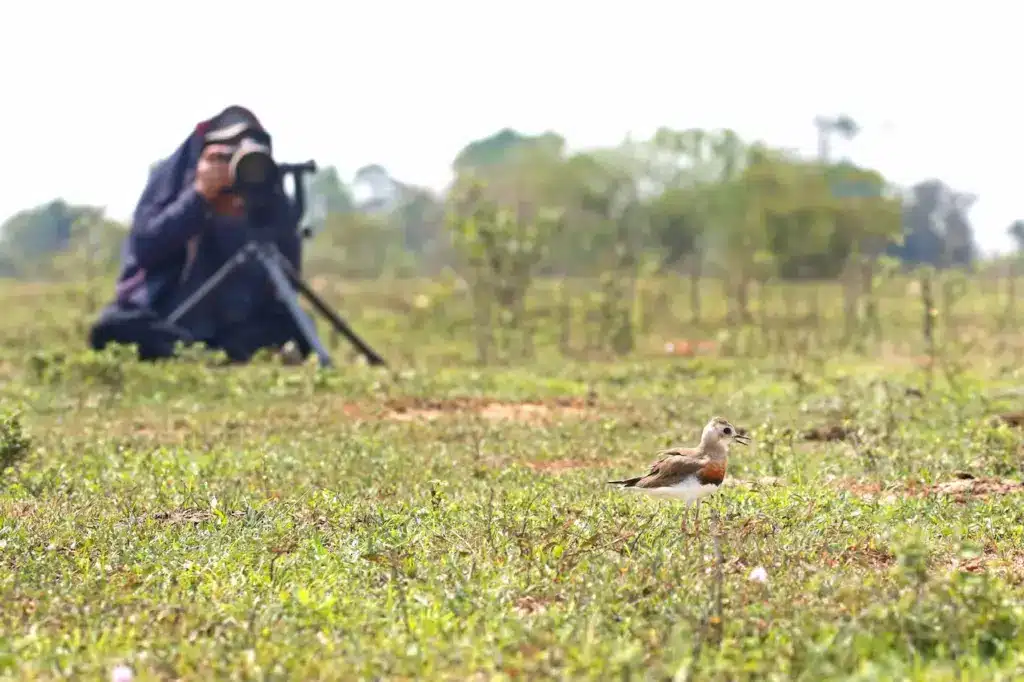
Birds are rarely posed for portraits. Birds are quick, easily startled, and can be far away. Camera gear does not have to be expensive to capture these moments quickly and clearly.
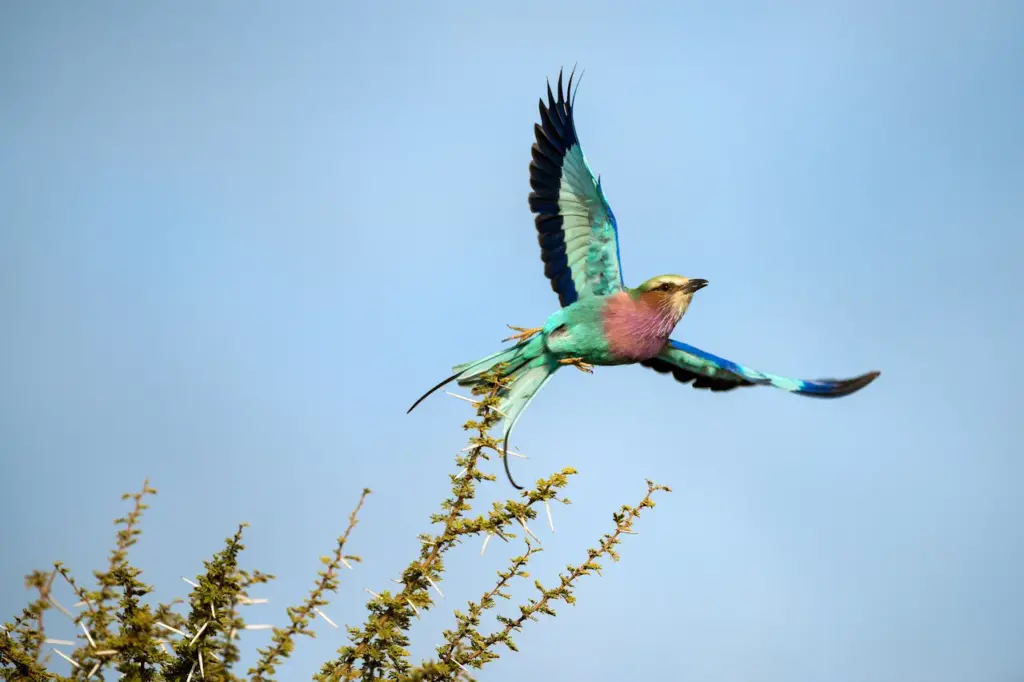
It is essential to have a camera that has a fast autofocus. Birds can fly across the sky in seconds or dart from branch to branch. Your chances of success will be dramatically increased if you have a camera that can track quickly and lock focus. A high frame rate (ten frames per second or more) will help you capture the best wing positions in flight or a subtle facial expression when still.
A telephoto is usually required. Many photographers choose 400mm, 600mm, or even 800mm lenses to capture birds from a comfortable distance. Zoom lenses are useful, particularly when birds suddenly move away or closer. Although less common, wide-angle lenses can produce powerful images that place the bird in its natural habitat.
Many bird photographers choose to hold their cameras by hand, as they prefer flexibility and faster reactions. Monopods, beanbags, or resting your camera lens on the car window will provide stability without compromising mobility.
Remember that gear is just one part of the puzzle. Even the most expensive lenses won’t help you develop patience. And even the most advanced cameras can’t replace experience in the field. You can still take amazing photos with modest equipment if you are familiar with your subject and the environment.
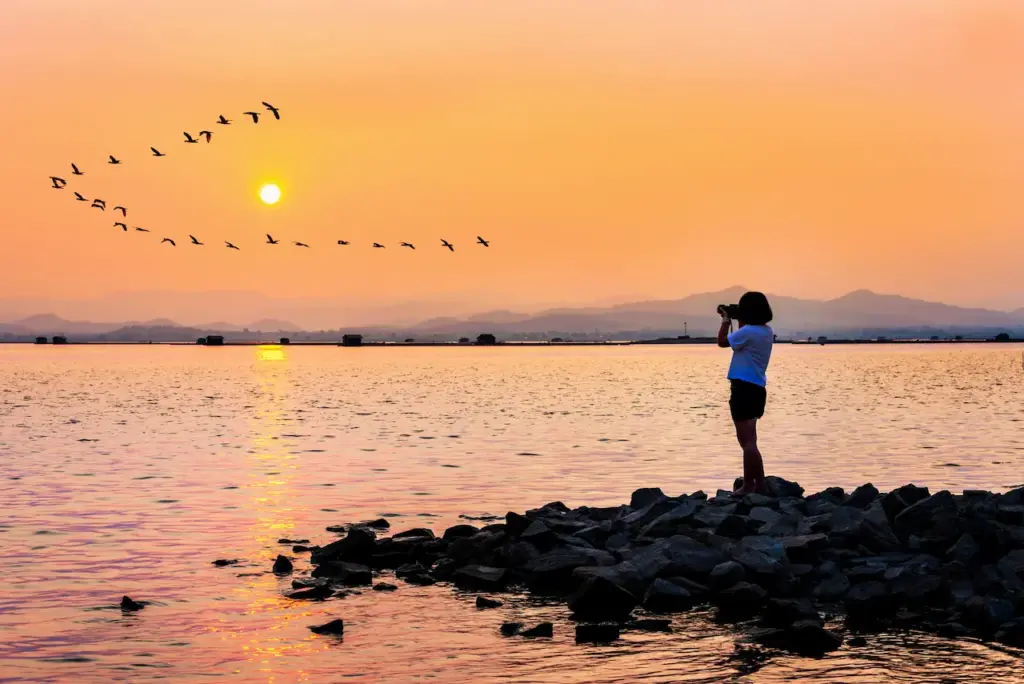
Natural Light for Bird Photography
Birds do not wait for perfect lighting, and neither should you. But knowing how to utilize light to your advantage will help separate casual snapshots from compelling photographs.
Golden hours, just after sunrise and right before sunset, offer warm diffused light which brings out the texture of feathers and their natural colors. These are the times when birds are more active, and you have a better chance of capturing their behavior. Even though the midday sun, especially when it is clear, can cause harsh shadows and washed-out details, this light is useful when you are trying to freeze movement in dense forests or with high shutter speeds.
Bird photography often overlooks overcast days. Clouds act as a softbox to reduce contrast and even out the light. It is particularly useful when you are photographing birds that have both dark and lighter feathers. You can capture both details without having to sacrifice exposure.
Backlighting can be used to highlight feather edges or create silhouettes. The side lighting can be used to add depth and contrast and bring out the shape of the bird and its texture.
In the end, mastering light comes down to flexibility. Instead of waiting for perfect light conditions, you should learn to adapt your compositions, settings, and approaches according to the current conditions. According to eBird, this species is well documented.
Making an ng Composition
It’s not just about technical perfection that makes for great bird photography. It’s also about telling a story visually. Composing your photo can be the difference between a simple snapshot and one that captures attention. According to Audubon Society, this species is well documented.
By placing your subject in accordance with the rule of thirds, you create balance and allow the bird to “move” into the frame. The tight framing of a bird’s face may be intimate, but allowing space, especially in the direction that the bird is flying or looking at the camera, creates a dynamic feeling.
The background plays an important role. A distracting background will ruin a great photo. Search for backgrounds with a clean, blurred background that allows the bird to be seen. Use a large aperture to separate the bird from its surroundings and create a pleasing depth-of-field.
The best images are often captured by shooting from eye level, whether that’s crouching on the ground or lying down, or even climbing up a small hill. This perspective creates a connection and presence that makes the viewer feel as if they are right there with the birds.
Include elements from the surrounding environment, such as a nest or water reflection. A tree branch can also be used to add drama. Not only are you photographing the bird, but also a particular moment in a location.
Bird Photography Settings
To capture sharp and detailed images, bird photography requires quick reflexes. These settings can help you take great pictures every time.
Shutter Speed
Higher speeds may be necessary for birds in faster flight or more dynamic actions. It prevents motion blur. This issue is quite common for photographing moving objects. Higher shutter speeds help achieve sharp and clear images.
Aperture
A wider aperture (a lower f-number) blurs the background, making the bird stand out. This effect is especially useful in busy environments with distracting backgrounds. Conversely, a smaller aperture (a higher f-number) is beneficial for group shots. A smaller aperture is preferable when you wish to capture the bird in its habitat, including more of the scene without compromising details.
ISO
The brighter the lighting conditions, the lower the ISO should be, and vice versa. However, consider that high ISO can often lead to grainy pictures and digital noise, creating an extra challenge during post-processing.
Focus Point
As stated above, birds are animated objects that move constantly, and photographers cannot control or guide their movements. A continuous focus mode (AF-C on Nikon or AI Servo on Canon) allows your camera to adjust focus as the bird moves. Additionally, multiple focus points can improve your chances of locking onto your subject, especially in flight.
Exposure Compensation
This setting is required to capture more details in tricky lighting conditions. It allows you to go beyond the camera’s automatic exposure, brightening or darkening the image as needed.
Post-Processing
Start editing your bird photos with basic adjustments. Correct exposure and contrast. Adjust the white balance for the colors to look natural. Subtly adjust saturation for more vibrant colors. Selective color adjustments can also help correct specific areas of the photo without affecting the overall color balance.
Apply sharpening to make your subject stand out. But be mindful and avoid overdoing it. Effective noise reduction smooths out the grain while preserving the fine details of the feathers.
Crop the image to mimic the effect of a longer lens and bring your distant subject closer. But you must understand that over-zooming a picture leads to quality loss. Consider using photo editors with an image extender tool to prevent the loss of detail.
Techniques like dodging and burning (lightening and darkening specific areas of an image) can direct the viewer’s eye to the bird, enhancing the photo’s focal point. This selective editing can create depth and dimension, adding a dramatic effect to the lighting and mood of the image.
Conclusion
We explored the essential bird photography techniques, from understanding the basics to mastering advanced methods. By embracing the tips and techniques outlined in this guide, you learned how to capture birds, cherishing the fleeting beauty of the world around you.
Whether wading through wetlands at dawn, trekking through forests, or observing the birds in your backyard, each experience enriches your understanding and appreciation of your craft and the subjects you portray.
Let your visual stories inspire others, fostering a deeper connection and respect for our feathered friends and the planet we all share.